I've been adding and installing printer with-in the Local Area
Network connection for years. I'm using a traditional add printer in the
control panel, printers and devices, then add printer, browse for the printer
with-in the Local Area Connection and so on. Until I discover the best, easy
and most convenient way to add printer is to browse the shared
printer first then double clicks and it will automatically installed
or added in your computer.
Here's how to do it;
1. Browse for the Computer where the printer you want to add has
been installed. Go to Start Menu then "My Network Places" or
"Network" for Windows Vista and Windows 7.
2. Browse for the Computer for example John's PC. for Windows XP
you need to click the "View Workgroup Computers" to view all the
computers that belong to the certain Local Area Connection Group.
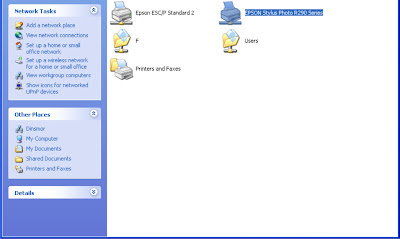
3. Then find the Printer you want to add.

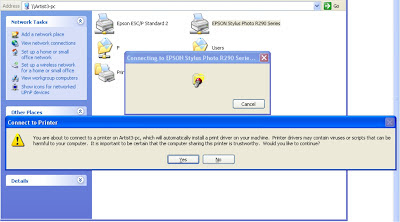
4. Double click the thumbnail or icon of the printer. A
pop-up confirmation will appear states that you want to add the
printer in your machine. Click OK.

5. Then wait for your computer to finish installing the printer
drivers.

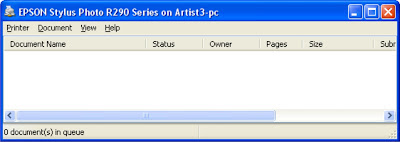
6. Try to print a document in the printer to test if your printer
has been successfully installed.


No comments:
Post a Comment